Quickstart
Get AwaitStep running and deploy your first workflow in under 5 minutes.
1. Run the install script
bash
curl -fsSL https://raw.githubusercontent.com/awaitstep/awaitstep/main/scripts/install.sh -o install.sh && bash install.shThe script creates a directory, writes a docker-compose.yml and .env, generates secrets, and starts the container. When it finishes, AwaitStep is available at http://localhost:8080.
2. Sign in
Open http://localhost:8080 in your browser.
AwaitStep supports the following authentication methods:
- Magic link — enter your email and click the link sent to your inbox (requires
RESEND_API_KEY) - GitHub OAuth — requires
GITHUB_CLIENT_IDandGITHUB_CLIENT_SECRET - Google OAuth — requires
GOOGLE_CLIENT_IDandGOOGLE_CLIENT_SECRET
INFO
There is no email/password authentication. At least one auth method must be configured before you can sign in.
3. Connect your Cloudflare account
- Go to Connections in the sidebar.
- Click Add Connection and paste your Cloudflare API token. See Cloudflare Connection for how to create one with the correct permissions.
- Select the account you want to deploy workflows to.
- Click Save.
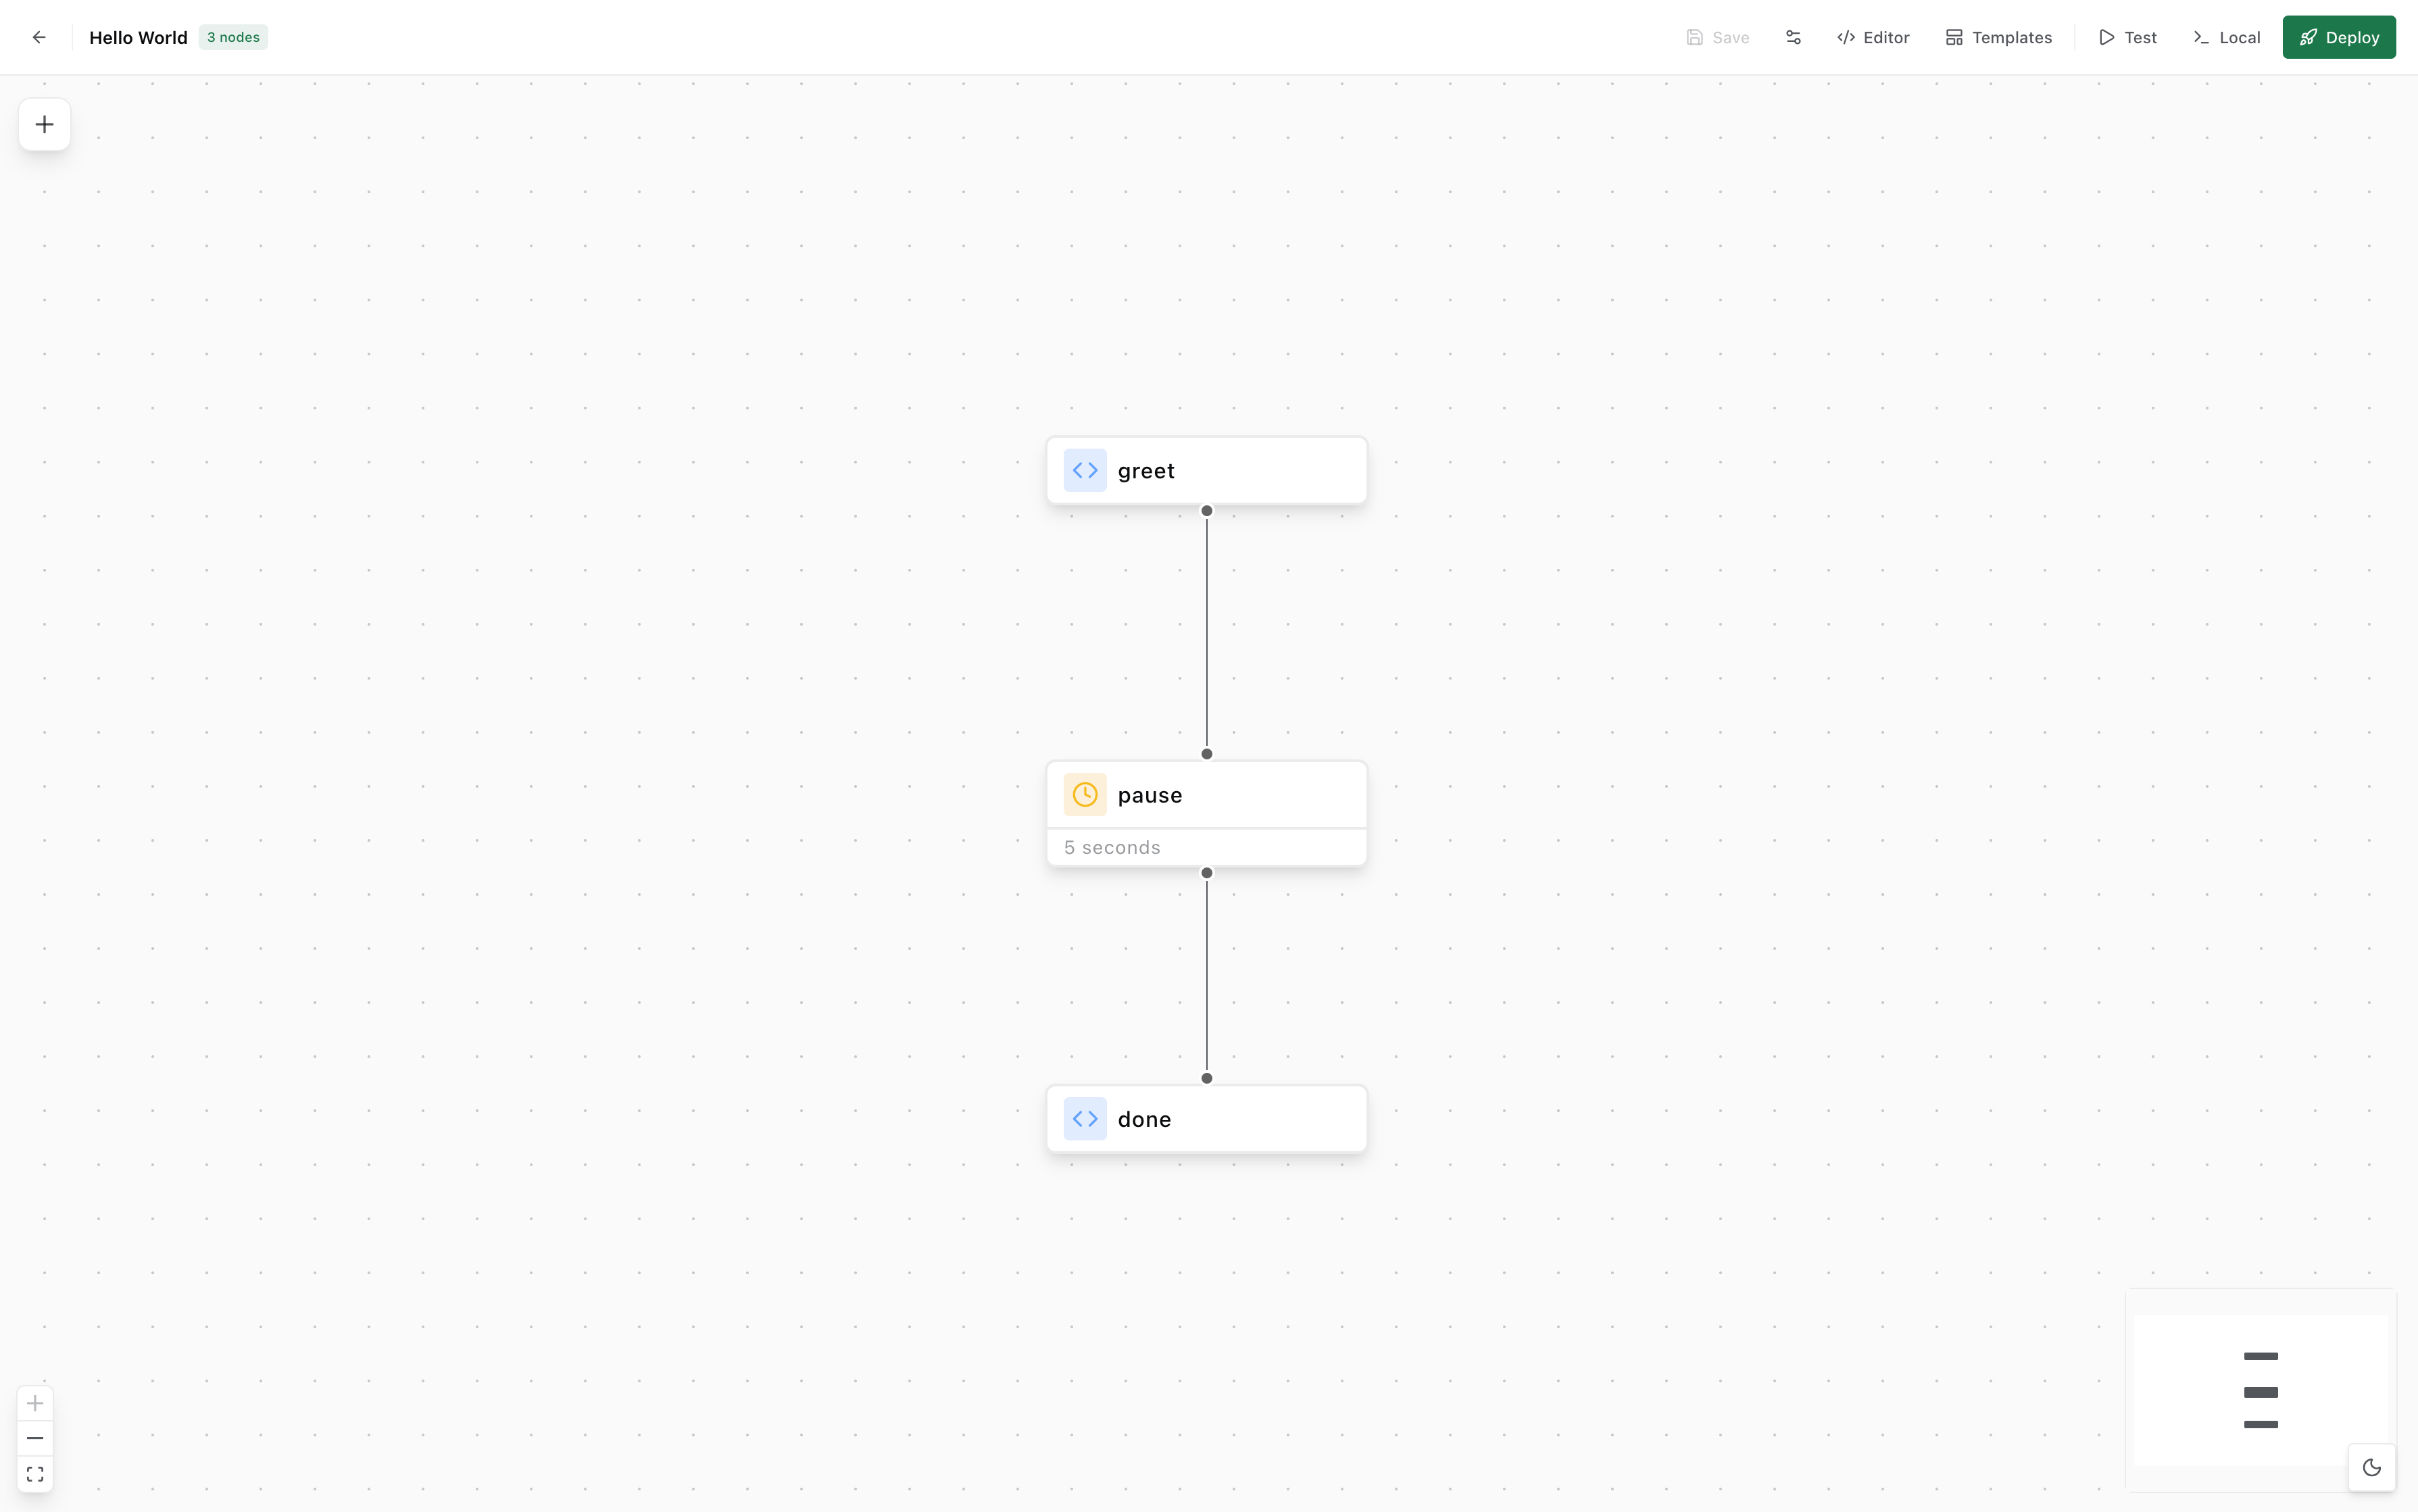
4. Create a Hello World workflow
- Click New Workflow from the dashboard.
- Give it a name, e.g.
Hello World. - The canvas opens. From the node panel (click + top-left), drag a Step node onto the canvas.
- Connect nodes by dragging from one handle to another.
- Click the Step node to configure it — give it a name and add your code.
5. Deploy
Click Deploy in the top toolbar. AwaitStep will:
- Compile the canvas to TypeScript
- Bundle it with
wrangler - Upload the Worker to your Cloudflare account
When the deploy finishes, the toolbar shows a green Deployed badge.
6. Trigger the workflow
- Go to the Runs tab.
- Click Trigger.
- Leave the payload empty and click Run.
- A new run appears in the list. Click it to see the run details — status, output, and errors.
TIP
You can also trigger a workflow via the API. See the REST API for the trigger endpoint.