Marketplace
The AwaitStep marketplace is a public registry of community-authored custom nodes. Browse integrations, install them into your project, and contribute your own nodes back to the community.
Browsing Nodes
Open the marketplace from the canvas toolbar. Nodes are organized by category with search and filtering.
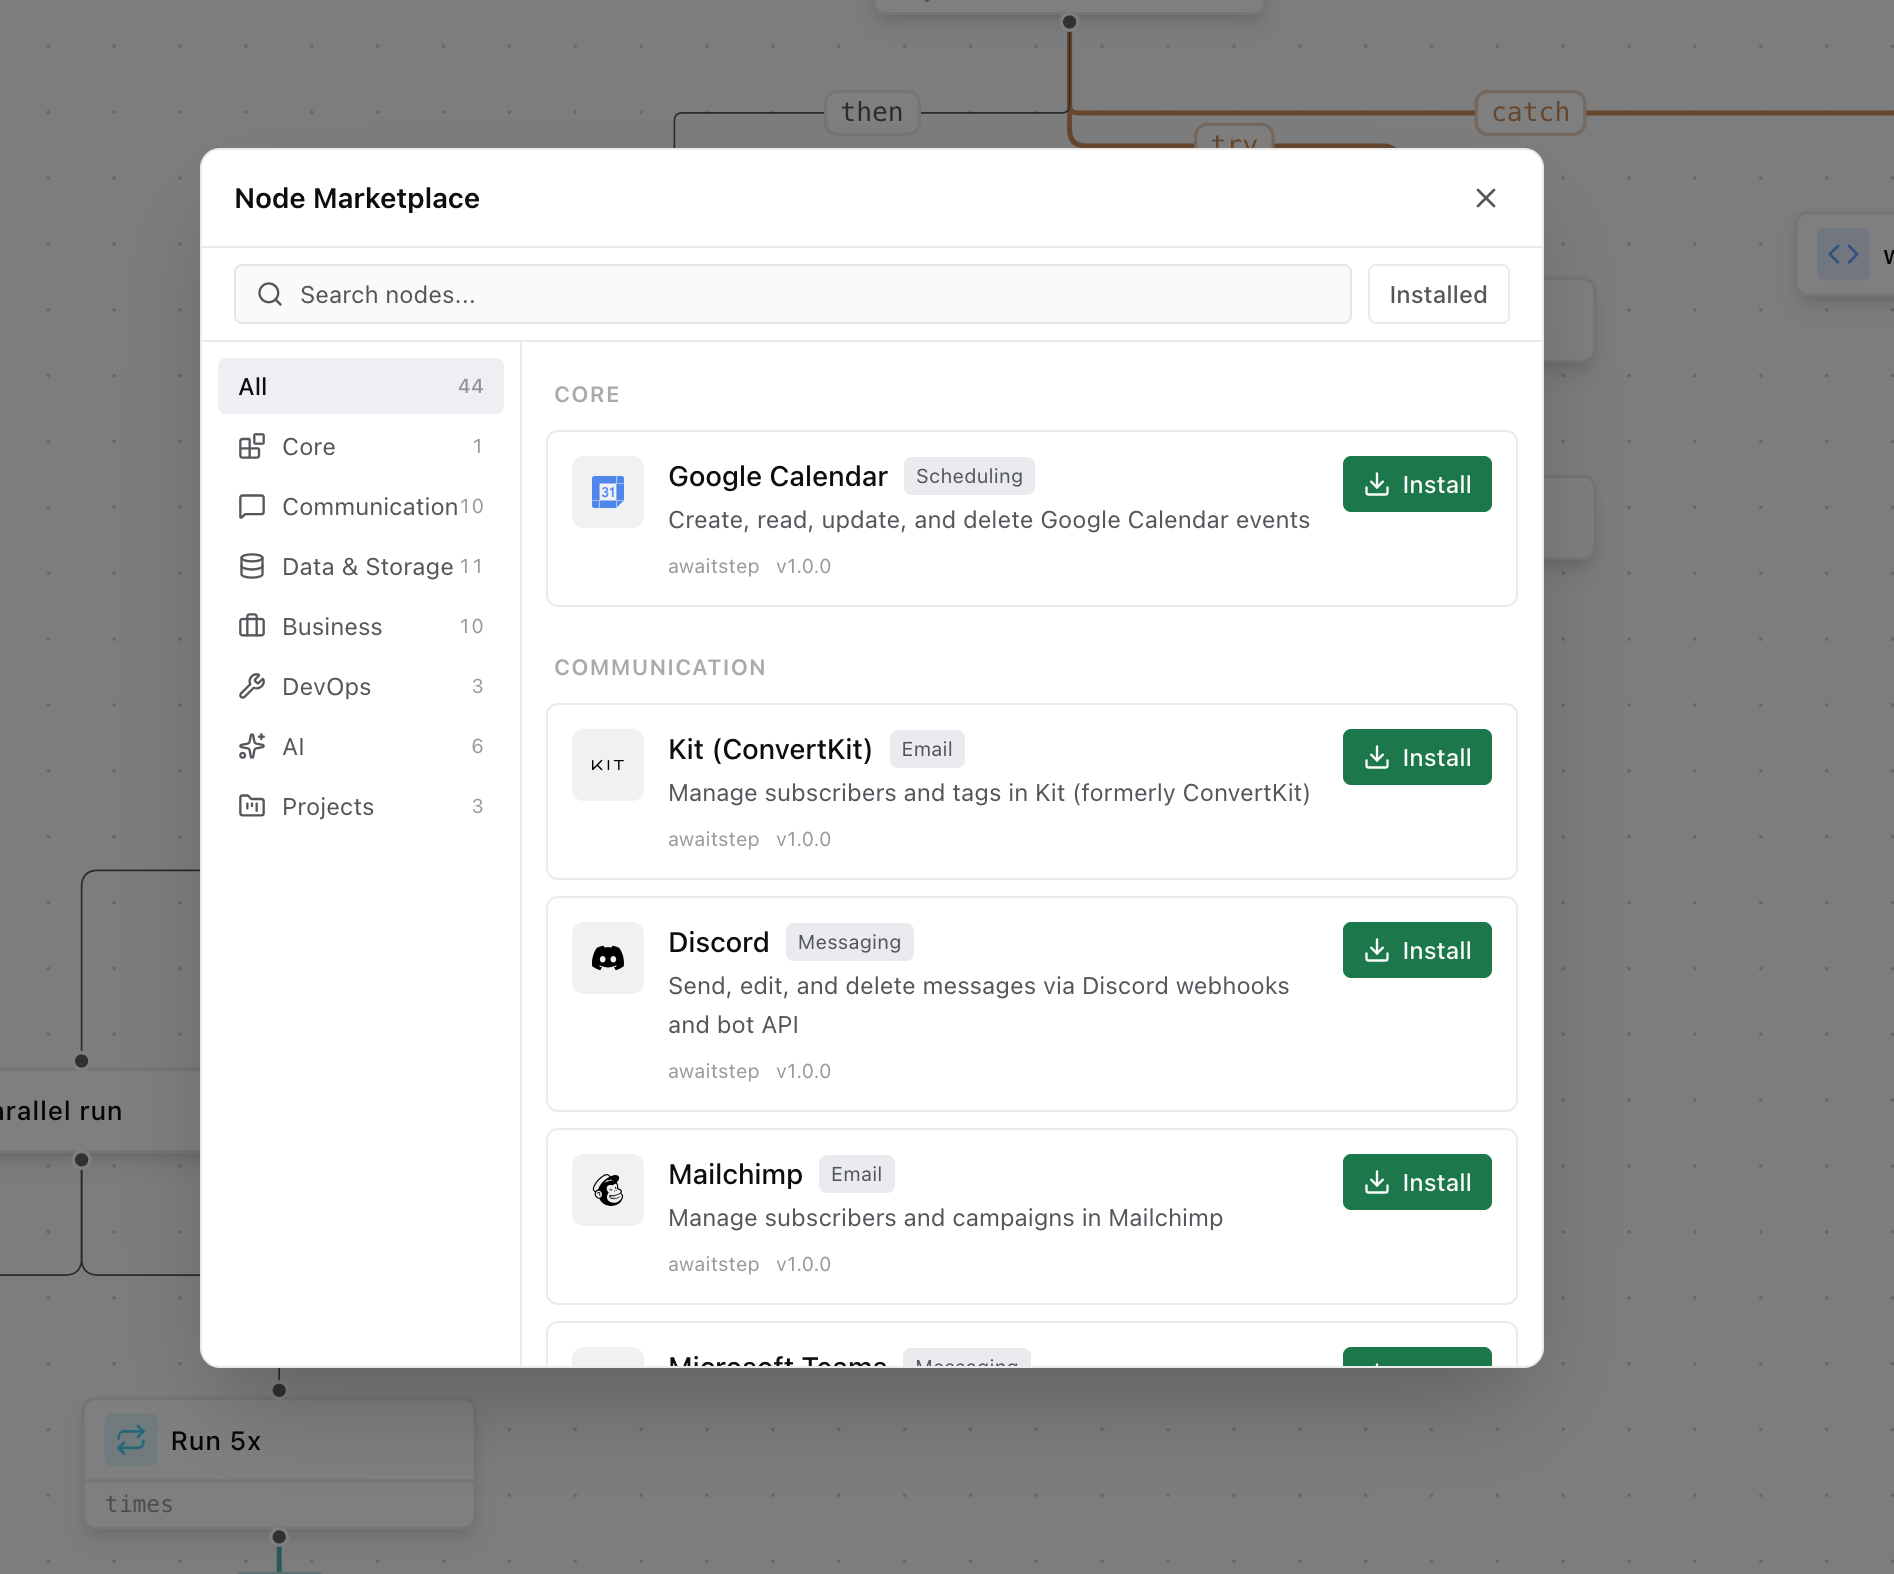
Nodes are searchable by name, category, tag, and author. Each node listing shows:
- Name, description, and category
- Current version and publish date
- Author and license
- Config and output schema
- README documentation
Installing a Node
To install a node from the marketplace into your project:
- Open the marketplace and find the node you want.
- Click Install.
- Select the version to pin (defaults to the latest stable release).
- The node is fetched from the registry, validated, and added to your project's node registry.
Once installed, the node appears in the node picker and can be added to any workflow in your project.
TIP
Installed nodes are pinned to the version you selected. The node will not automatically update when a new version is published. See Versioning for how to update.
Uninstalling a Node
To uninstall a node:
- Go to Project Settings → Nodes.
- Find the installed node and click Uninstall.
WARNING
You cannot uninstall a node that is currently used in one or more workflows. Remove all instances of the node from your workflows first.
Using a Custom Registry
By default, AwaitStep fetches nodes from the official registry at https://registry.awaitstep.dev. You can override this to use a private registry by setting the REGISTRY_URL environment variable in your project settings.
REGISTRY_URL=https://registry.your-company.comA custom registry must implement the same REST API as the official registry:
| Endpoint | Description |
|---|---|
GET /nodes | List all available nodes (with pagination and search) |
GET /nodes/:id | Get a specific node by ID (returns latest version) |
GET /nodes/:id/:version | Get a specific node at a specific version |
GET /nodes/:id/versions | List all published versions of a node |
Each endpoint returns a NodeDefinition object (for individual nodes) or an array of them (for listings). The shape matches the NodeDefinition type from @awaitstep/ir.
INFO
The REGISTRY_URL override applies to all node installs and update checks for the project. It does not affect built-in nodes, which are always bundled with AwaitStep.
Contributing Nodes
Anyone can publish a node to the AwaitStep marketplace. To contribute:
1. Author the Node
Follow the Custom Nodes guide to create your node in nodes/<node_id>/. Complete the authoring checklist before submitting.
2. Pass Validation
All nodes submitted to the marketplace are validated automatically:
node.jsonmust be valid and complete- At least one template file must exist
- All tests must pass (
vitest run) - The node must not conflict with any existing node ID in the registry
3. Submit a Pull Request
Fork the awaitstep/nodes repository, add your node, and open a pull request. The automated CI pipeline will:
- Run
node.jsonschema validation - Run all template tests
- Check for naming conflicts with existing nodes
- Lint the TypeScript template files
4. Review and Publish
A maintainer will review your node for:
- Correct secret handling (secrets must use
envVarNameand be accessed viactx.env) - No Node.js APIs in Cloudflare templates
- Errors thrown, not swallowed
- README with config and output tables
Once approved, the node is published to the registry under your author name and the version declared in node.json.
Updating a Published Node
To publish a new version, bump version in node.json following semver, update the README if needed, and open a new pull request. Both old and new versions remain available in the registry — installed projects are not automatically updated.
Official Nodes
Nodes authored by awaitstep are official integrations maintained by the AwaitStep team. They are marked with a verified badge in the marketplace. Official node IDs currently include:
resend_send_email— Send transactional email via Resendstripe_charge— Charge a customer via Stripestripe_refund— Refund a Stripe chargeslack_post_message— Post a message to Slackopenai_chat— Call the OpenAI Chat Completions APIanthropic_message— Call the Anthropic Messages APId1_query— Query a Cloudflare D1 databaser2_put— Upload an object to Cloudflare R2kv_get/kv_put— Read and write Cloudflare KV
Community-contributed nodes are listed separately and are not officially maintained by AwaitStep.